The Magic of Arnold shaders:
- Ankitha Rao

- Nov 30, 2022
- 5 min read
Updated: Dec 3, 2022
30/11/2022
3D Creation Pipeline for Film & Games
Week 7:
Hello, I am back with a new entry this week. Now let's discuss the things we did this week in class and my independent study over the week. We started this week with learning about the Arnold shaders and how they are used for rendering animations or objects.
What are PBR shaders?
They are known as physically based Rendering which involves materials and lights in a more scientifically accurate way.
The difference between Arnold and maya basic shaders is that Arnold can achieve more photorealistic effects and can also be used for the stylized workflow.
PBR can produce any material you want or create complex high-quality materials and helps keep a consistent workflow and appearance while using its own rules and regulations. The PBR uses multiple layers/channels to achieve real world effects.
The channels are:
Albedo Map: This is the map with the main colorized texture used as a base layer.
Height Map: This is a displacement map which can used to add depts or any depth related elements with this map
Metallic Map: This is used to add the metallic element to the object where if there is more black than white in the map it means it has more metalness to it.
Roughness Map: This map is used to interpret how smooth a model is, and this is done by altering the light reflected off the model and how much light absorbed.
Ambient occlusion: this is a map which calculates how exposed an object is in the scene.
The main concepts used for the PBR shaders are Energy conservation, index of reflection, Fresnel effect and microfacet theory. These concepts are used to help make the rendering of objects more realistic as these are concepts which are used in the real world.
PBR also uses the light ray phenomenon where the light scatters in different directions based on the materials and medium of the objects.
PBR workflows:
Metalness VS specular: for a metalness workflow reflectivity is decided by a grayscale map while color is decided by the base color.
for a specular workflow metallic area will appear as black in the diffuse layer.
PBR Aistandardsurface:
This is an immensely powerful material which replaces Mayas standard materials like Blinn, lambert etc... This also helps PBR produce more exact results and supports 3rd party materials and texture maps.
In this week's class we also learnt about Gamma correction and color Management as in where we need to use the sRGB color space and when the RAW space should be used. The sRGB one is used for the base color of the material and the Raw ones for the data-based maps.
Texturing:
Where we will create a basic material for the surface and texture which adds details to it. In maya the surface information is a network that starts with the UV map then texture maps are connected to. Then, texture maps are plugged in to material layers.
Bump Maps VS Normal Maps VS Displacement maps: Bump maps are grayscale textures used to create illusions of elevations and depressions on a flat surface. They add detail to the object without increasing the poly count and it won't be seen as a silhouette or cast shadows. This is best used for, but it is not as exact as normal maps.
Normal maps use more advanced approaches as the RGB space directly corroborates with the XYZ space in the 3D space. As they factor in the direction of the surface Normal's, the results are more physically exact imitation of the surface relief. There are diverse types of normal maps: tangent space which is used almost all the time and the rest are object space and world space
*(Surface relief is the depressions and elevations in the surface of an object. Examples include the peaks, valleys, and plateaus of a planet, or dimples of a golf ball.) *
Displacement maps are height maps but also like the bump map which is made up of grayscale. They alter the geometry of the surface creating depth and detail which is useful in the creation of terrains or details for the silhouette or for self-shadowing. They should have enough polygons to support the details.
Bump maps or Normal and Displacement maps can be used as a conjunction. This is also one of the most expensive methods of rendering as geometry is changed by a map.
What Alpha is Luminance: when this is enabled the brightness from the RGB channel is transferred to the alpha channel and creating an opacity mask for the textures as they are typically data driven maps.
Arnold Shaders:
AiambientOcclusion: This shader helps with the global illumination and interaction of the light bouncing; it is not physically correct as this doesn't exist in the real world, this is still used as a production enhancement and for artistic style. This must be applied to every mesh as it affects the entire scene and we do not require the lights to make it visible.
AiShadowMatte: It was called as ShadowCatcher shader and used to capture the shadows of the floor planes and later for compositing and postproduction control, this is particularly useful when the backplate in compositing has a reflective surface
Ai Curvature Shader: This is created wear and/or grunge edges of the surface.
AiMixShader: This uses two shaders together to create a mix and can be controlled by using texture maps to assign either shader to different aeras of surface.
AiComposite: This shader mixes 2 RGB Inputs and offers a variety of blend modes like those found in photoshop.
Exercise done in Class:
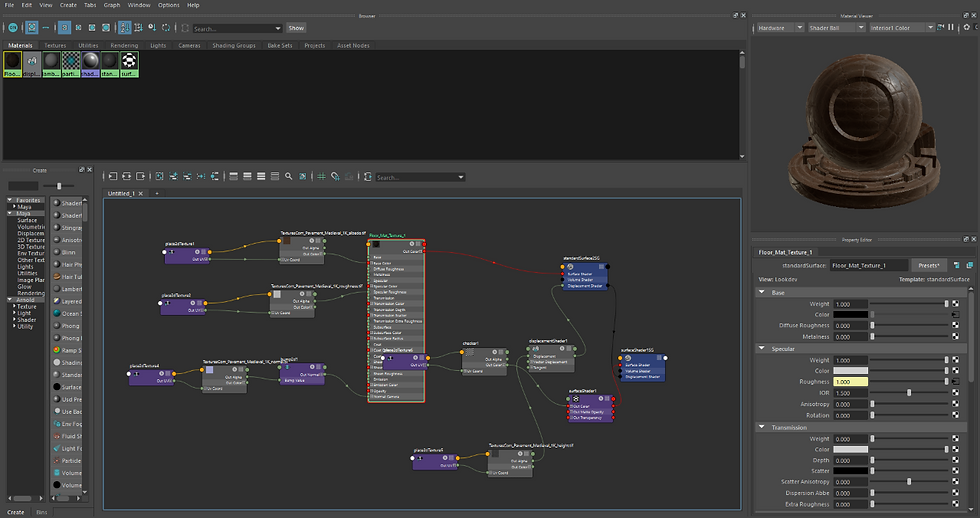
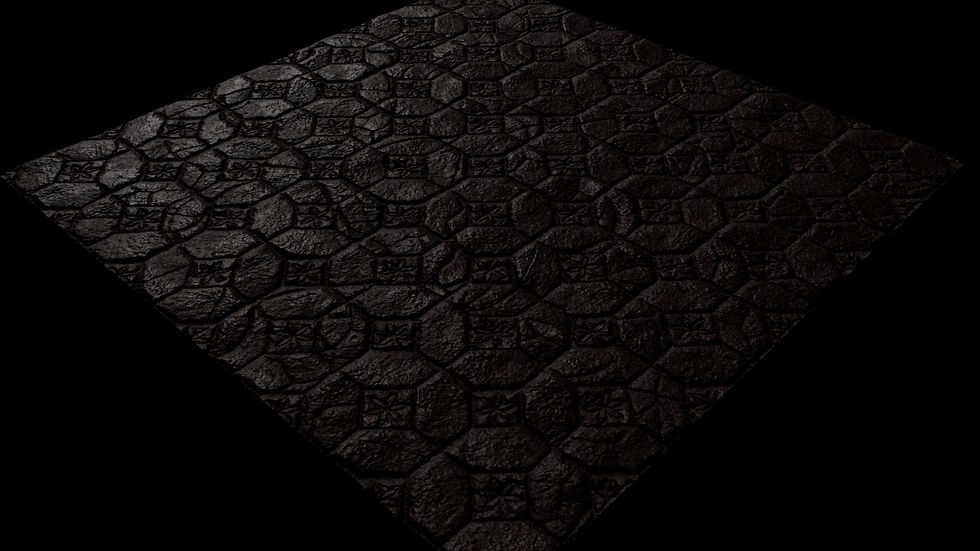
This week we did floor tile exercise in class where we had to add texture to a plane, the textures were readymade. First, we added the albedo map to the base color and then adjusted the color space to sRGB then added the roughness map where the color space was RAW since the maps which we add from now on will be data based, then comes the normal maps and the height map, this map adds the depth, or the major details needed for the texture.


Roughness Map A roughness map is used to interpret how smooth a model is. This is done by altering how much light is reflected off the model and how much is absorbed.

Independent practice:
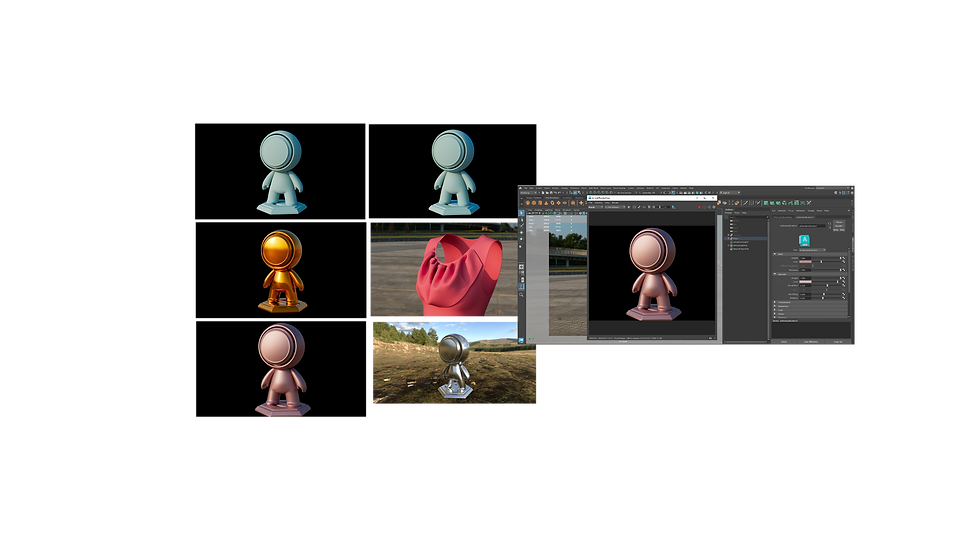
In this we experimented with different shaders on the objects and with the attributes of the maps and attributes like sheen and a few more.

As we have our DSP project deadline coming up, I have been more focused on making assets for it.

I have also been working on my asset for the finial project submission, I have done the blocking of the forearm and cleaned the topology and will be making the shoulder arm plates and metal shoulder of the arm this week.
I made the forearm using a cylinder for basic blocking and got it into shape by moving the vertices and then added the details using the extrude method and finally added and deleted some of the edges to get a minimal topology and then subdivided them to have a clean topology.
Self-reflection:
I must work on my time management skills so I can get some more time to complete the internal tutorials.
Thank you, I will be back in a few days!


Comments